|
|
Post by Jay on Aug 21, 2009 9:00:48 GMT
loving them! white alloys FTW
|
|
|
|
Post by wayne on Aug 21, 2009 14:06:46 GMT
some long hours going in there keep up the good work!
|
|
|
|
Post by jonmsm on Aug 24, 2009 0:50:23 GMT
|
|
|
|
Post by jonmsm on Aug 25, 2009 0:20:21 GMT
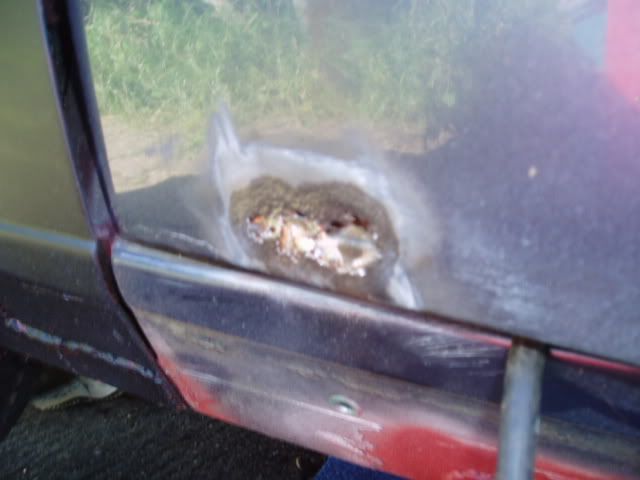
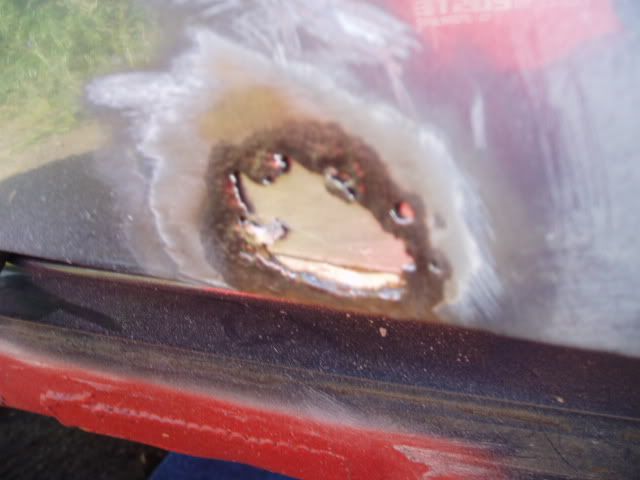
OK - latest progress on the BMW! I managed to spend about 7 hours on the car today and seemed to achieve relatively little for the amount of time but I took quite a few pics so here goes! First job today was to weld up the holes in the rear door on the passenger side and grind it back to make it ready for filler. First holes filled with just weld wire and ground back 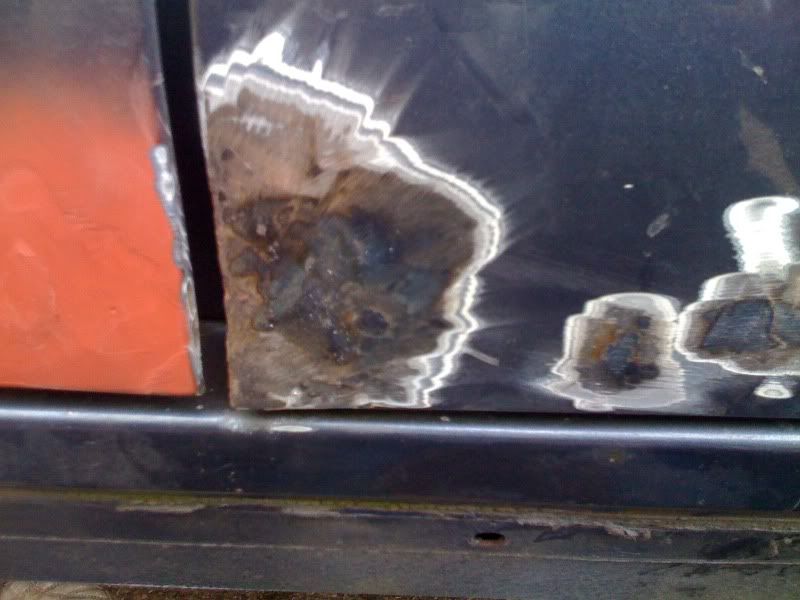 The rear and "slightly larger" hole was cut back a bit and new metal put in (tacked in place here ready to go) 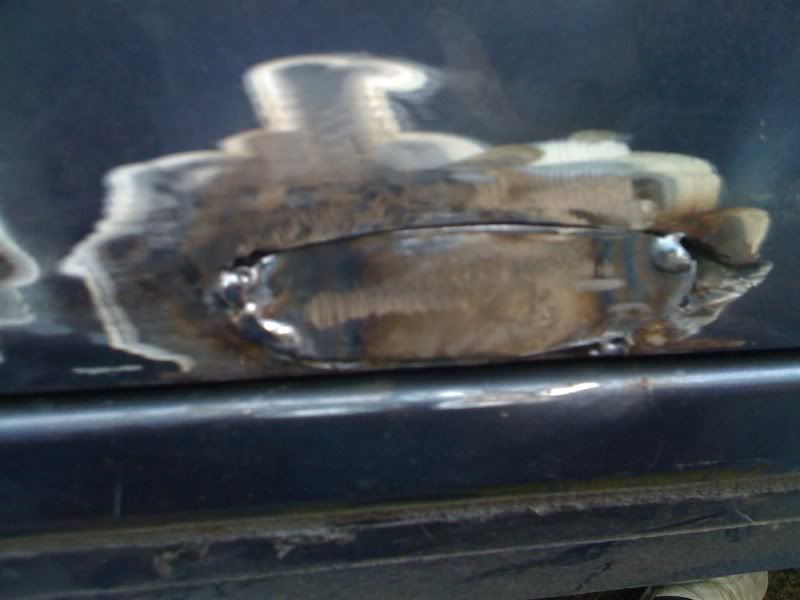 I got it about finished and the filler on just in time for the rain! The fixes are a 'bit' rough and ready but I just need the holes filled to stop them rusting more and there being a hole in the new paint job - they aren't very pretty and I havent sanded them to within an inch of their life... because I cant be arsed, just enough to be smooth for paint - lazy I know... "bothered"! 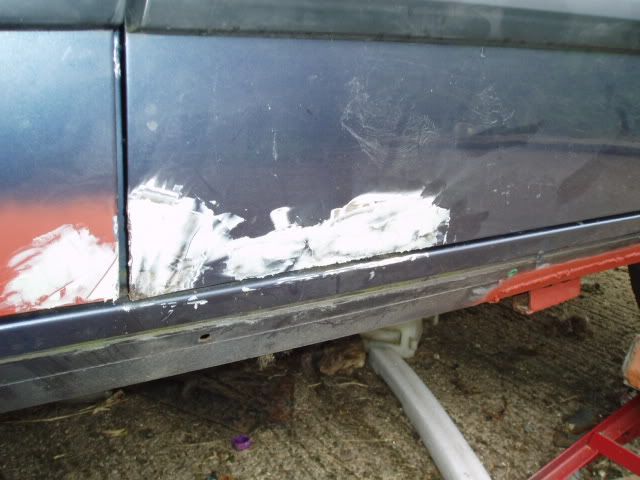 While it rained abit I got into the garage to get on with the seat runners which STILL weren't complete - needed to get the modified handles on for the runner release mech and correct the one I did the other day as the handle was too long and wouldn't fit in the car! haha This is the mech after the first go at the handle was ground off 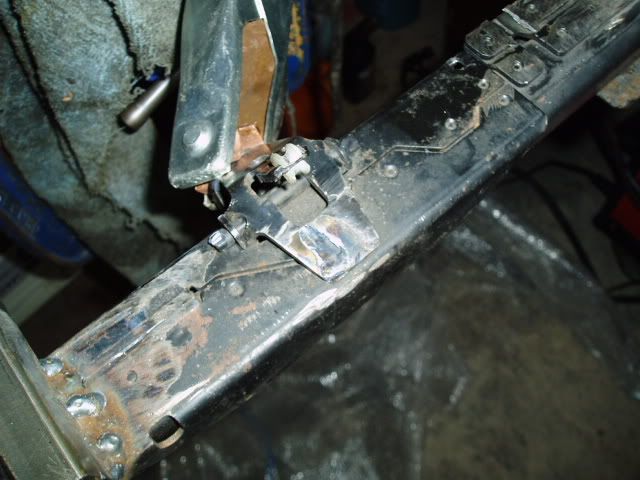 the seat frame in the vice ready to go 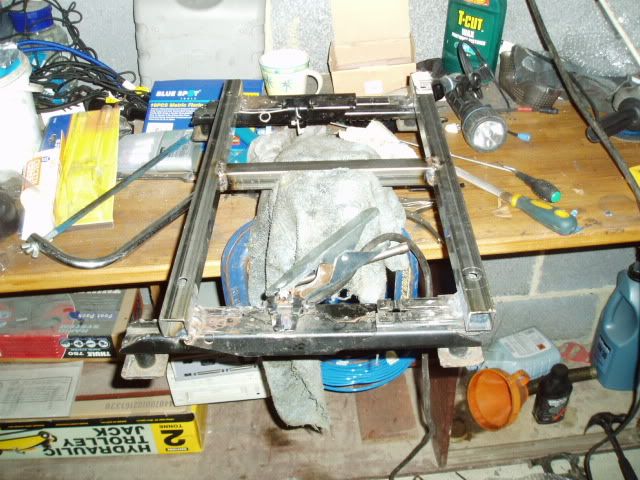 the new modified stubby handle from the original seats - handy! 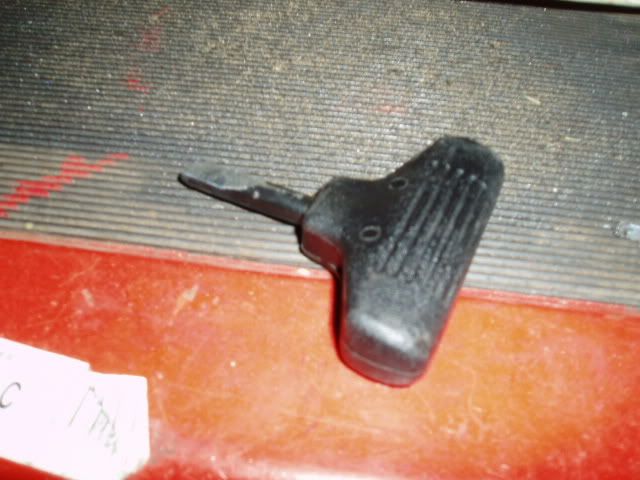 some sparks, noise and burns (add explitives in with the latter) and we have a handle! 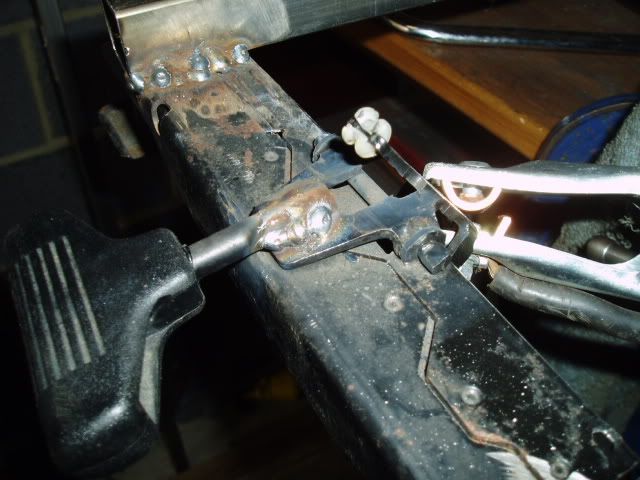 all fitted to the brackets 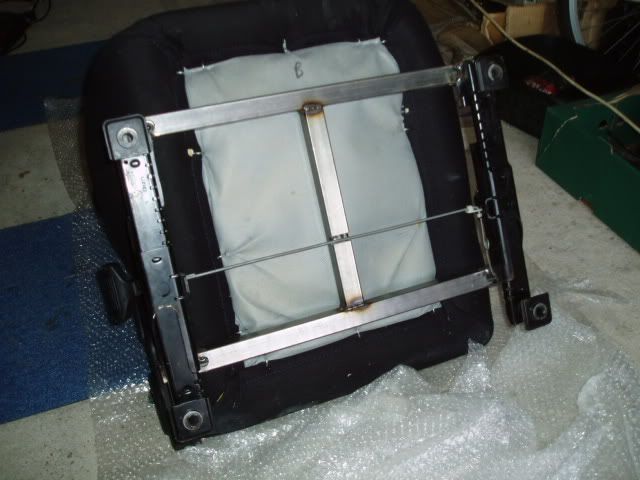 and in the car 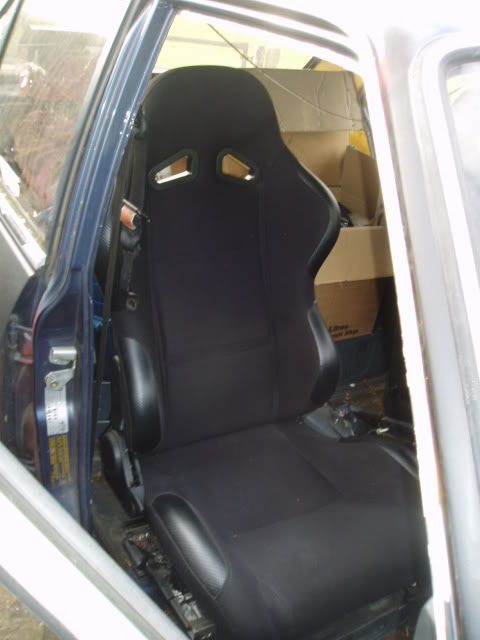 Looks pretty good me thinks! 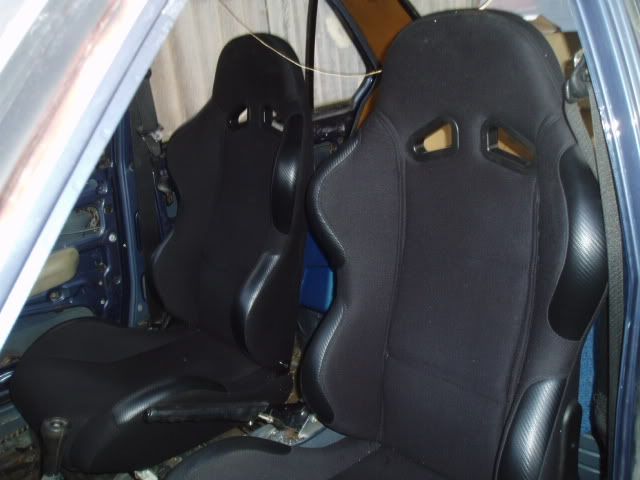 after the rain subsided I got to fillering and sanging back the doors ready for paint - sanded it for ages thinking it doesnt look different at all then realised I should let it dry... might have gone a bit overkill on keying the old paint for primer but at least it wont come off! haha  I decided I wouldnt have time at this point to get the masking done and enough coats on to satisfy me so I set to on the task of tidying the car out as I had boxes of parts/tools/bits taken off the car/fluids and body work materials scattered everywhere. SO with a few empty cardboard boxes from Halfords I set to. No photos here cos... well its boring but it took HOURS and I found lots of missing tools which is always nice!! Finally - I decided to take off the rear bumper for paint prep as I had the front. so bumper off I inspected the inevitable rust which wasn't at all as bad as I thought it might be but still bad enough that I had to break some bolts off instead of unbolt them! lol 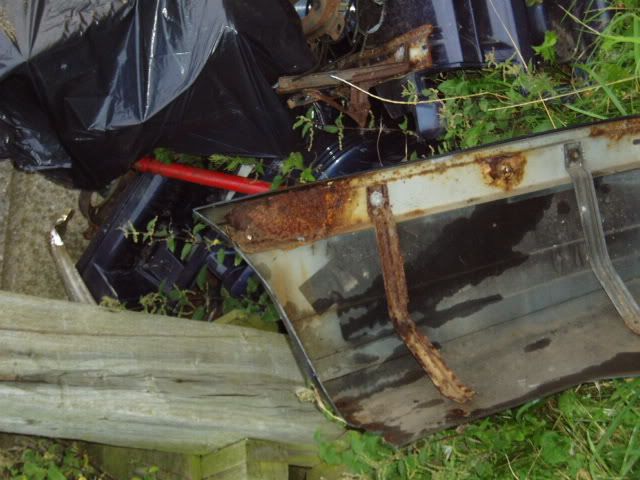 You also wouldn't believe that inside the plastic BMW M-tec kit from the factory resides a complete chrome bumper like you get on the other models. Thats all lovely except these things weight a metric fcuk ton! Heres the pile of what came OUT of the plastic bumper..  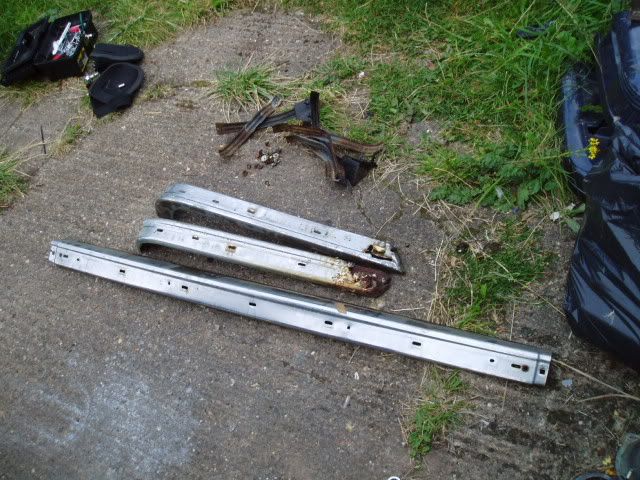 The largers bits are a center section and the two corner sections of the bumper. to mount it to the car it needs both corners that screw to the plastic bumper then bolt to the car. the middle section is not actually required at all to mount the bumper. So the middle section was due for the scrap heap until further inspection revealed it to be rust free... and chrome. As its the same as a standard e28 bumper this has second hand value so swiftly went into the car to go home for polishing! In the process it bit me... 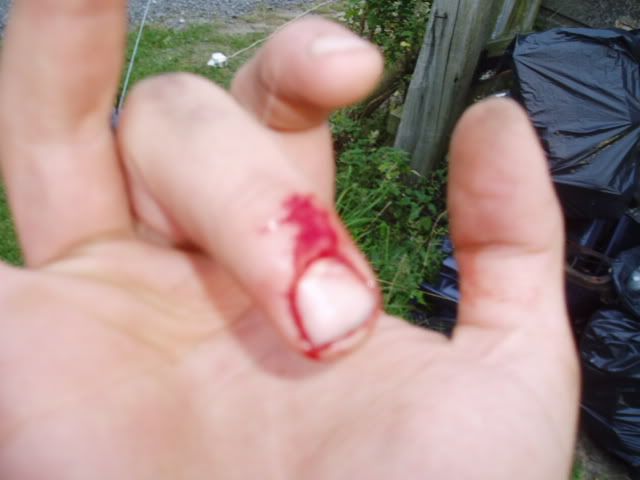 Looks pathetic I know but it skinned the bloody bit completely and it stung like a sucker (and most annoyingly kept bleeding over stuff.. which is annoying when your trying to clean it! hmmm wonder when my last tetnus jab was....) The last thing I got done was the trim down the corner sections to a) loose the rusty end bits and b) reduce weight. this shows the before and after - quite a lot of metal removed that is completely un needed! 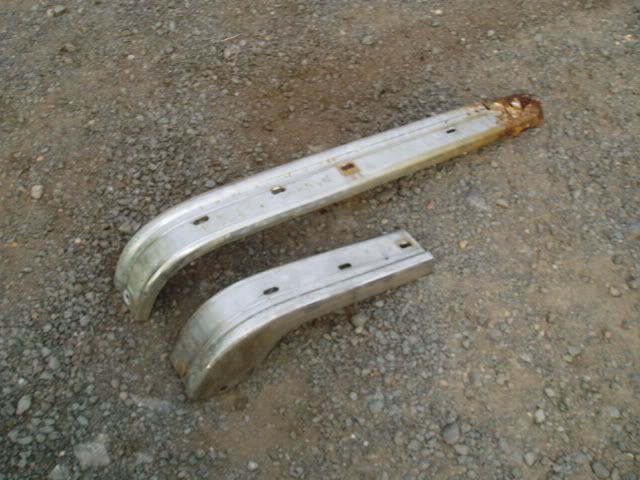 Thats it for today - tomorrow is cut short by my medical for my new job in the afternoon so might get the bumpers sanded and the mounts back in the but thats about it - we shall see! peace out! |
|
|
|
Post by Roadie on Aug 25, 2009 10:50:26 GMT
good progress Jon! keep it coming!  |
|
|
|
Post by Jay on Aug 25, 2009 18:31:56 GMT
liking it, i wanna come see the car soon!
|
|
|
|
Post by jonmsm on Aug 28, 2009 0:58:17 GMT
liking it, i wanna come see the car soon! Definitely mate!! I am working on it during the day time tomorrow and Saturday but then I am off for a week or so, so wont be working on the car - you know where it is though - feel free to go have a nosey. Quick update on the latest. Not made any major progress but here's the latest. First up - a new toy for the car! 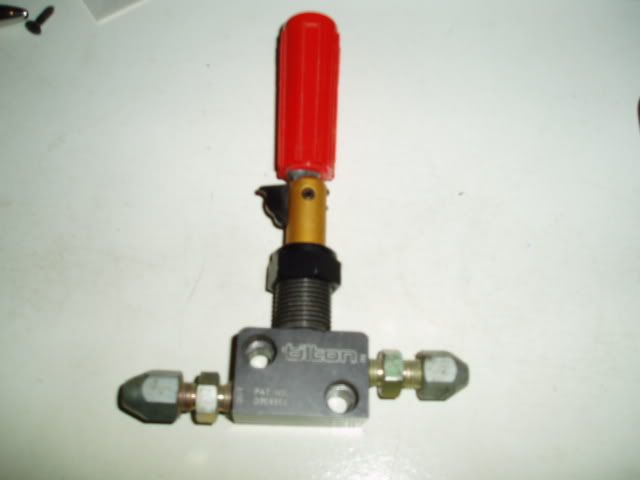 Hoping to get that fitted Friday morning! Thursday day time pre-ccc charity do I got the passenger side doors done - nothing much but progress is progress.. 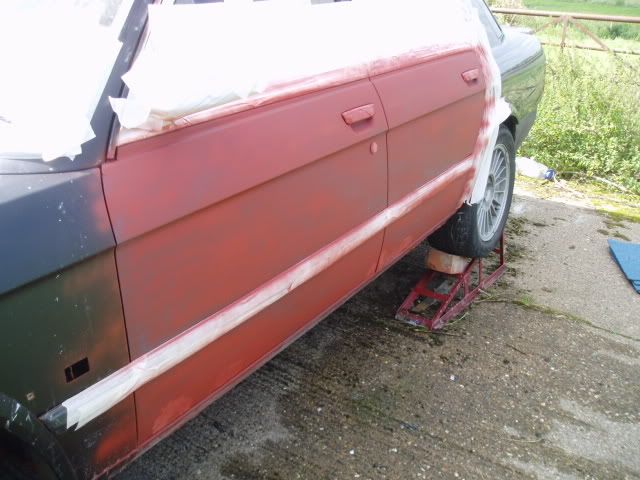 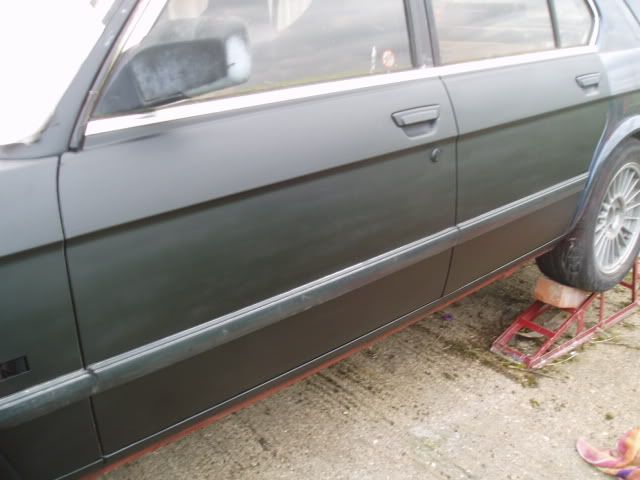 I also got the tow eye covers fitted at the front... 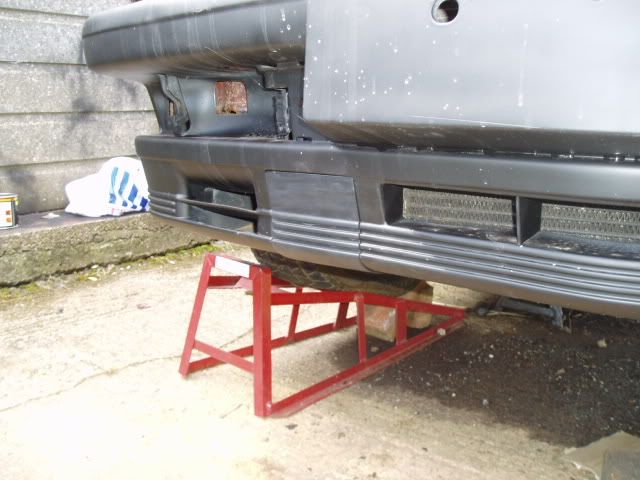 They look a bit out of place at the moment because the paint was put on at different times but should settle in better after a few cleans! I also got the rear bumper sanded down and sprayed up so I am going to get that rebuilt with its inners tomorrow but I have no pics of the sprayed bumper yet. The one last thing I did was to re-wire the washer pump to the stalks properly and tested the lights only to discover that the rear light used are almost completely buggered - not sure if its a case of lots of dead bulbs (as the odd light works) or just very badly corroded contacts as the boot leaks like a sieve (as all e28's tend to!) So that's something else to investigate... joy! Nice to see y'all tonight. Apologies if I was excitable - I felt like a kid in a sweet shop with so many nice cars so didn't really know where to turn next!! lol Great turn out thou!!  |
|
|
|
Post by jonmsm on Aug 28, 2009 1:05:40 GMT
OK all - I have an idea for the wheels!!! I found this gorgeous little e21 on the retrorides forum and his wheels are VERY similar to mine 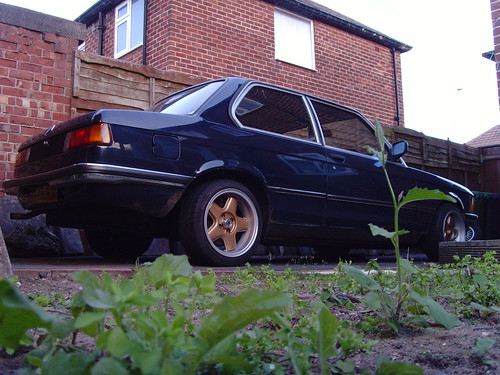 Not obv. the gold wont work with the matt black BUT, how about matt black centres and silver rims?? Thoughts please!! |
|
|
|
Post by Jay on Aug 28, 2009 14:29:13 GMT
im still saying white alloys.... think it would look awesome like that!
why not do away with the tow eye covers and get some proper race tow hooks to go in there to give it that race/track car look
|
|
|
|
Post by jonmsm on Aug 30, 2009 2:37:25 GMT
Right all - the saga continues! Over the last few days I have been doing some fiddle crap - so been refitting the indicators and fogs (however I disliked the look of the orange side repeaters so I have some smoked ones on order!). 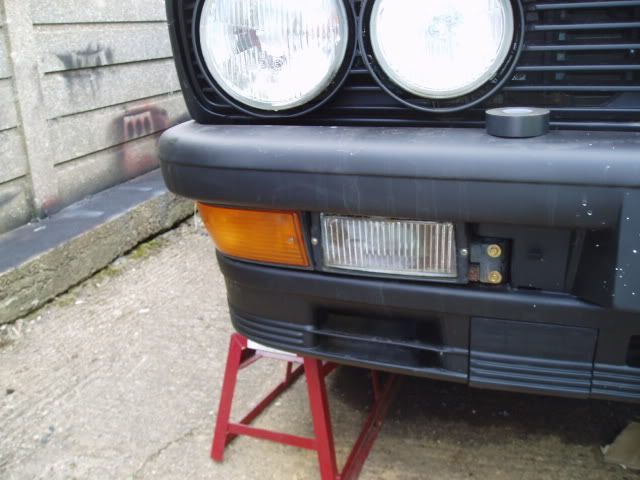 I also got bored and refitted the one single most important part of the car... the ///M badge! 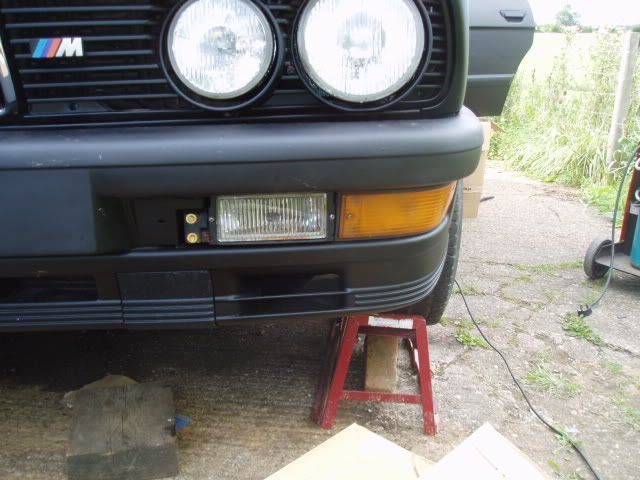 Rear bumper is all sprayed up and the inner bits all reassembled (what's left of them!) 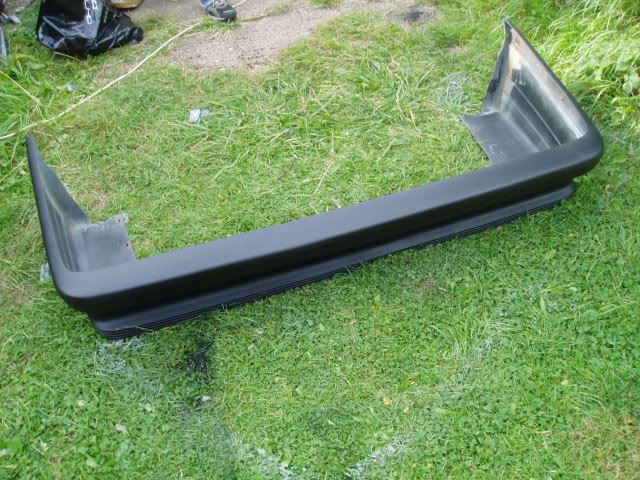 After this I went home for a rummage in the loft and found ALL sorts! 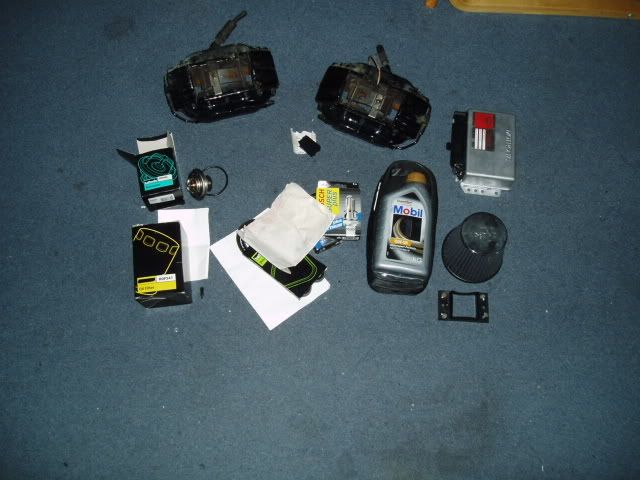 First of all there was a box with a full service kit that I bought for my last M535i, including thermostat, oil filter, plugs, leads, dizzy cap etc. Found my old e30 K&N (now on flebay!) and some of the keener eyed of you might have spotted the calipers. Here's a close up for you...  That's a pair of 4 pot Brembo 'big brake' calipers from a BMW 8 series! However - these wont be going on yet (despite the apparent direct fitment) due to the cost of the rotas... +£100 EACH - thats expesive discs. So they might go away for post MOT tinkering. In amongst all the boxes I also found an M535i ecu chip which is suppose to give more power and a higher rev limiter.. we shall see! 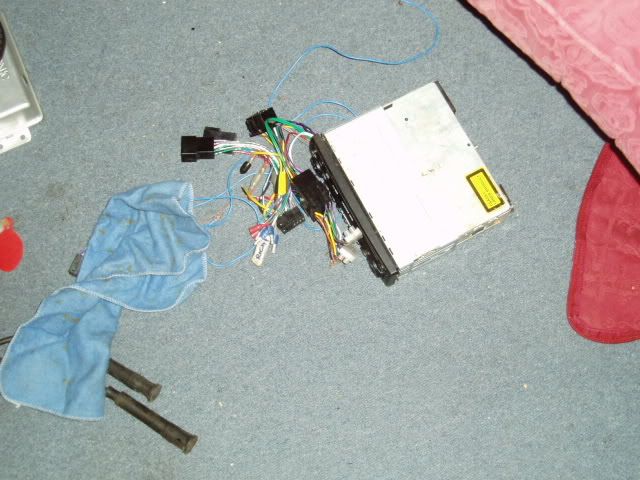 I also found about 6 ISO cables for stereos.. so if anyone needs one - let me know! lol Today I got on with the centre console at long last! Got it welded in to start with, then assembled it and wired it up (this however took the best part of the day unfortunately. 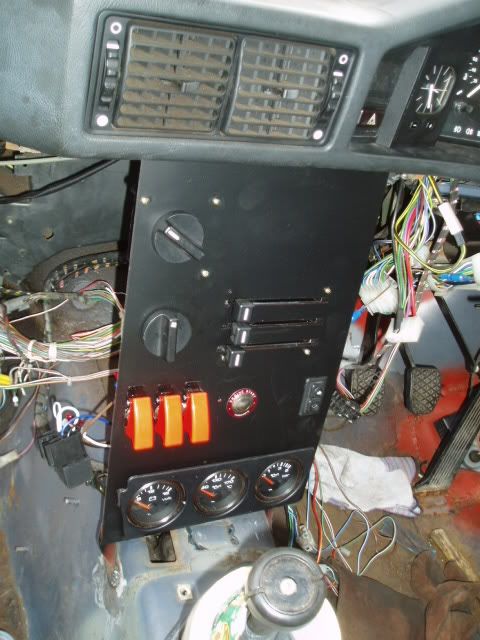 To talk you through, top dial is heater temp, below that fan speed (I kept all this in incase I need to clear the windscreen in damp weather and of course if I need to use her in winter at all) Then we have the air vent controls. Under that I've got three rockers with 'arm' covers... because I can! :-P The first two are actually operational, working different ignition stages, the third is currently dormant but will either be for an aux radiator fan or some other function.. ideas? then next to the rocker switches... START BUTTON... woot! all wired in and working (Jay - you'll be glad to know it now starts on the button (if you pardon the pun) and no hot wiring is needed! hahah.) The two way button is a single remaining window switch for the drivers side. The dials are out of an audi 80 coupé and show voltage, oil temp and oil pressue but they are only wired for back lights and voltage atm - thats yet another faffing job! However I did get to test the panel - ignition stage one showing a good strong battery, still at nearly 12v! 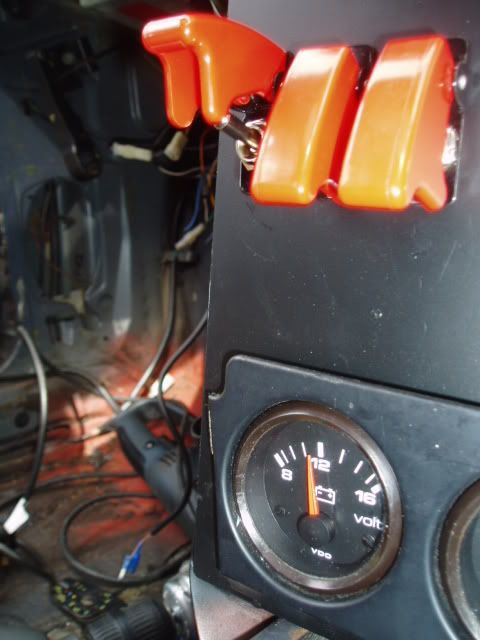 Then we started to reduce the wiring loom to spagetti and removed as much as we could that was un-used after removing the wiring loom from each door and three of the four window switches. 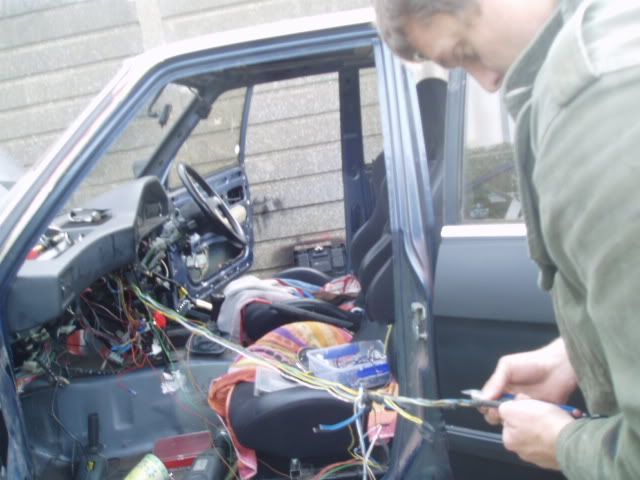 This helps with the on-going weight saving! hehe 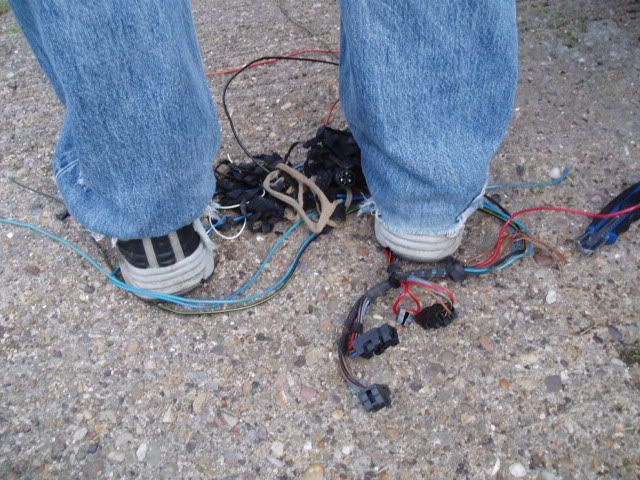 right - next stop Les Alpes-Maritimes then Monaco so I will bring you more updates when I return! :-) Jon out :-D |
|
|
|
Post by Roadie on Sept 1, 2009 13:19:20 GMT
Awesome mate! can't wait to see it back again!
|
|
|
|
Post by jonmsm on Sept 10, 2009 14:47:06 GMT
Hi all! Well since I have been back from my jollies I haven't really made much progress on the car as the C1 ran out of electricity.. appears my alternator packed in.. its only 3 years old! 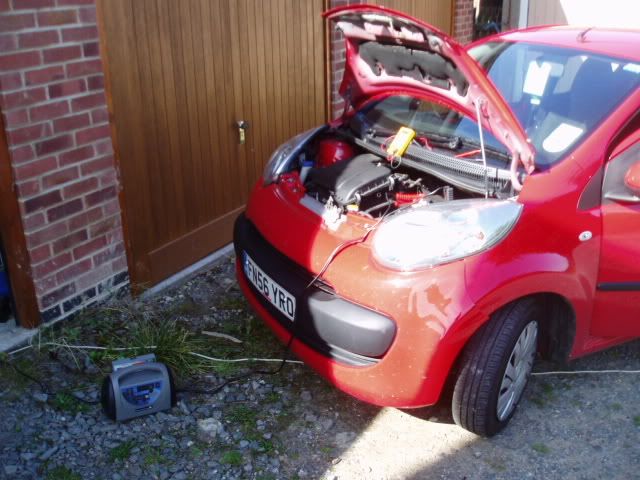 Anyway, here are the small bits I have done! First off - when I got home my new light rings were waiting for me so I have polished them! Nice and shiny!! 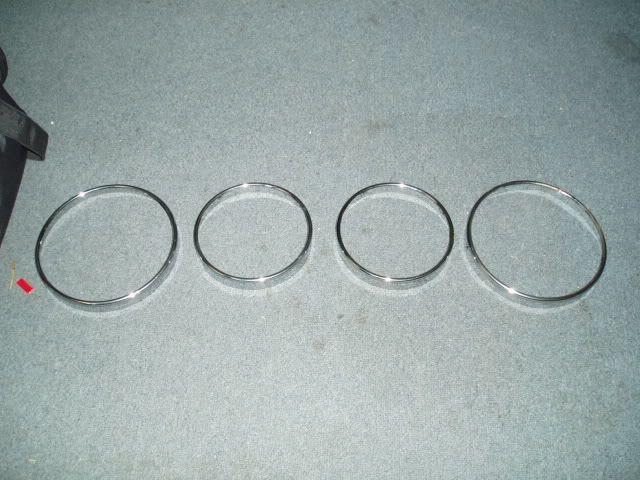 Next was the brake bias valve, I wanted it fitting where I can reach it when driving but not so it was in the way so I fed the new rear brake line into the car and along the passenger side of the transmission tunnel and set to with a drill.. hey presto! 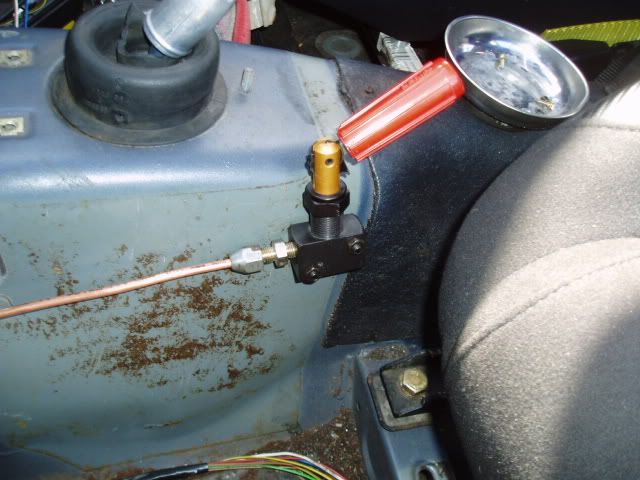 I then fed the pipe to the rear beam axle but left it there as I need to get the rear when jacked way up to get to all the different hard and flexi lines at the rear of the car and get the T junction in too! In the mean time I tidied up the wiring around the drivers foot well so you can actually get to the pedals now!! haha. 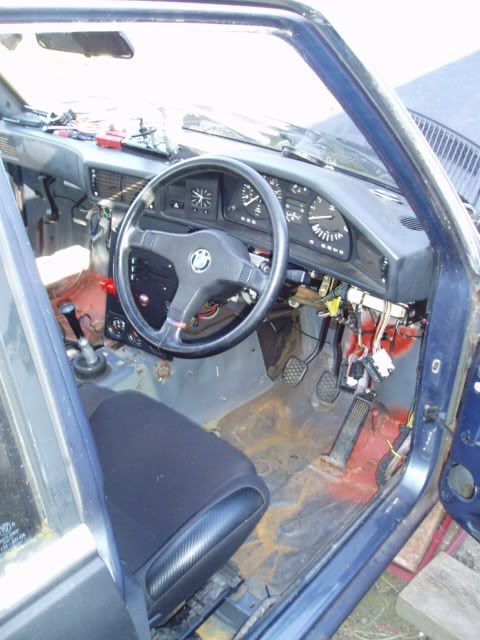 I then took the seats back out to get the last harness mount into the transmission tunnel too - back out with the drill and I JUST missed the centre prop bearing mounts where I drilled... lucky!!  I stuck on spreader plates made from off cuts of metal from the body fixing, and tightened the crap out of the rings and hey presto - harnesses done! :-D 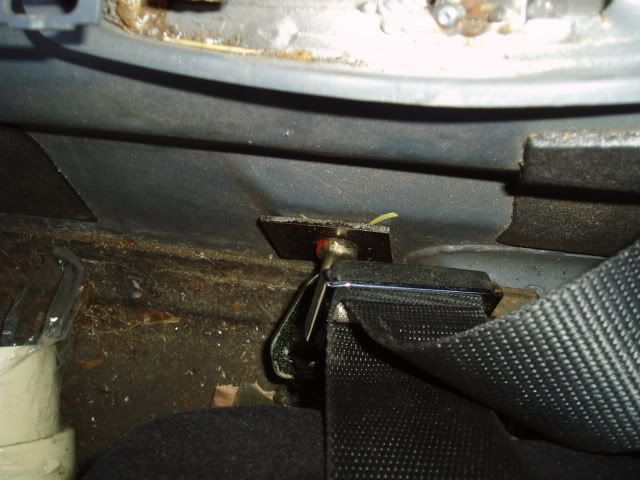 Finally, I sprayed the two little pannels that cover the fog light screws at the front of the car as you can see in the earlier pictures, however I forgot to get a pic of the completed front bumper.  Right - thats all for now! I might have a few hours to tinker tomorrow so I will probably get the back end up in the air and try to get on with those brake lines and inspect what a MESS the rear discs are in after standing for so long! lol |
|
|
|
Post by Jay on Sept 10, 2009 18:26:21 GMT
nice, i want a brake bais adjuster
|
|
|
|
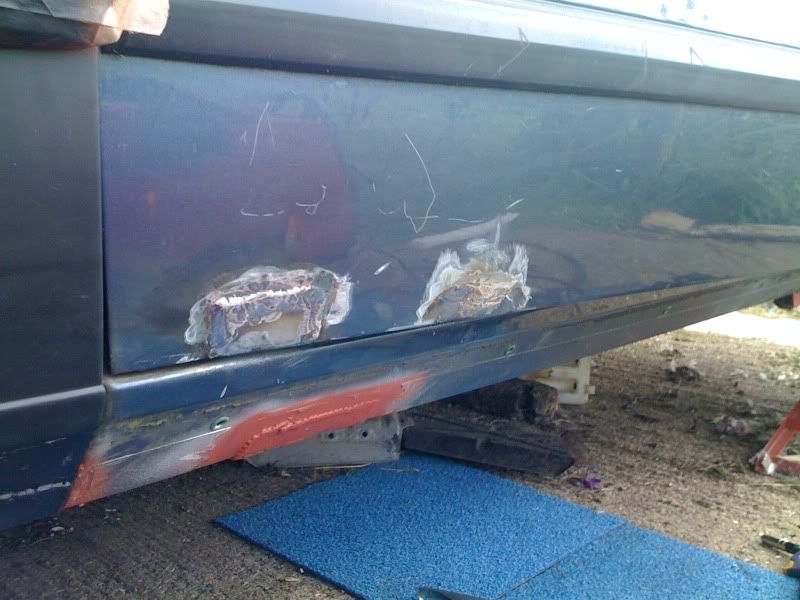
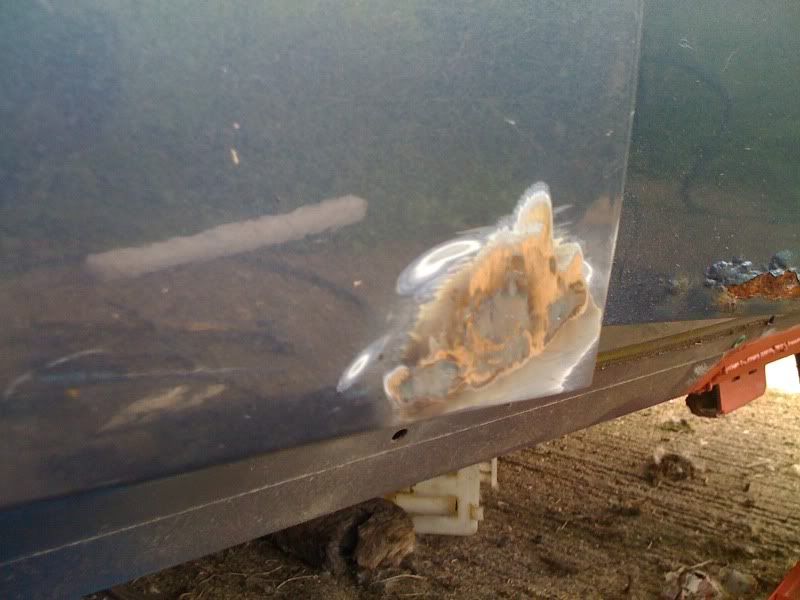
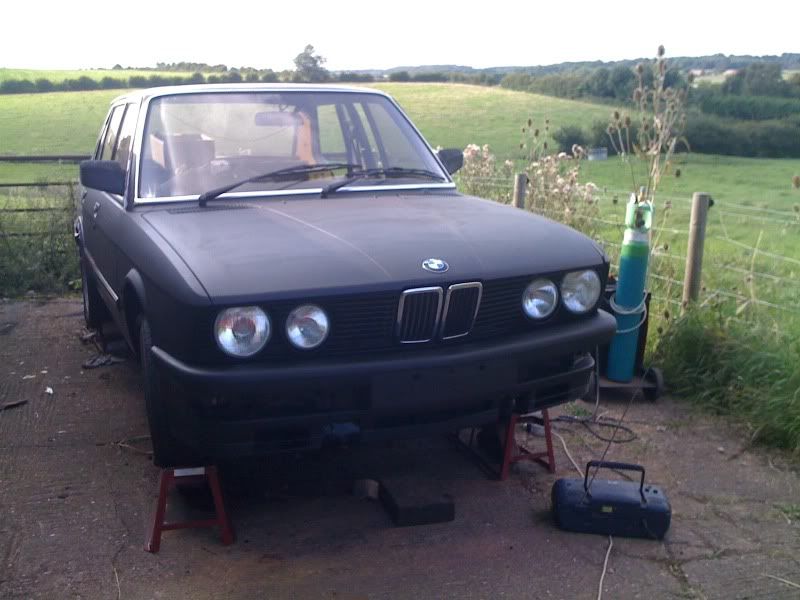
Post by jonmsm on Oct 4, 2009 20:11:18 GMT
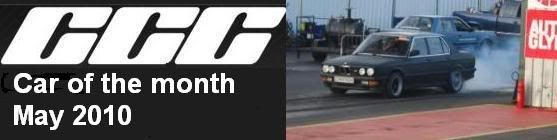
RIGHT - Finally an update, new job means SLOW progress but Saturday (inbetween the rain) saw some progress! However - first thing is the new car which has been talking up my time.. the ovloV! Just a pic or two of this £500, leather clad, air conditioned, auto box! CD changer and cruise control to boot.... oh yeah.. and a TURBO! :-) 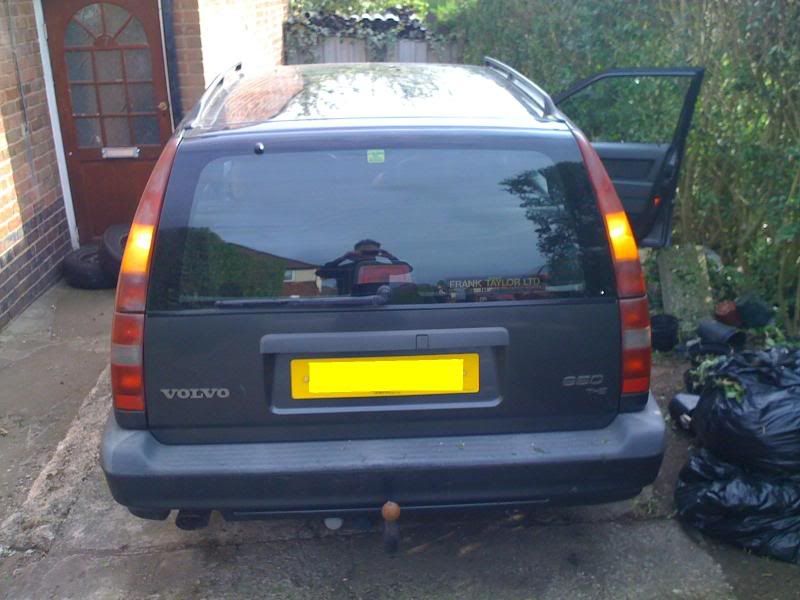 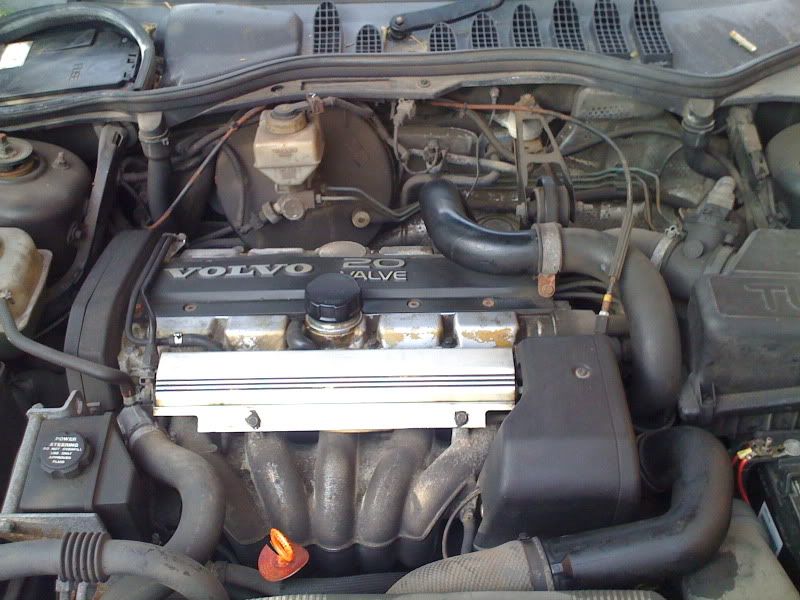 ANYWAY, back to the BMW... Progress on the passenger side rear quarter:  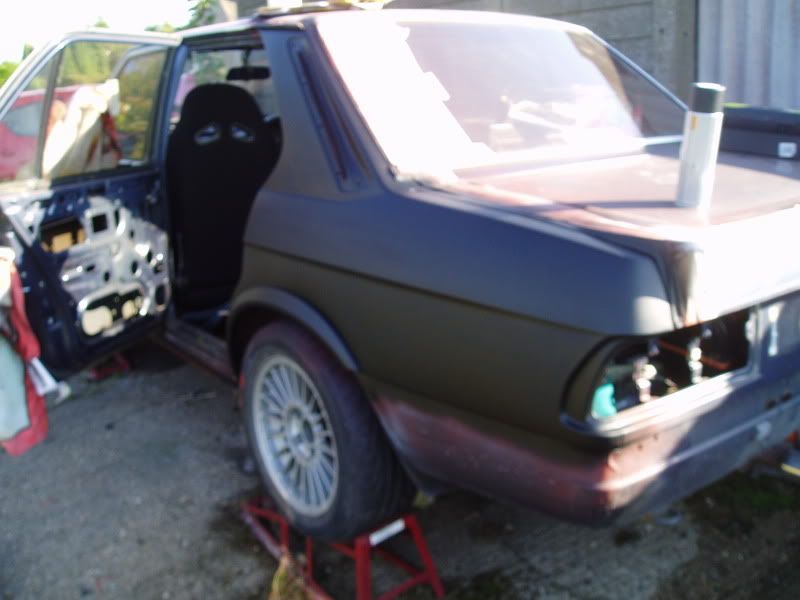 then on to the drivers side... and some more german metal... aka SWISS cheese! 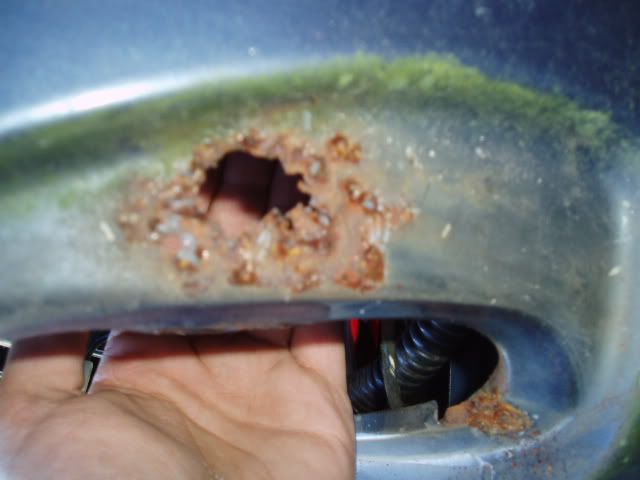 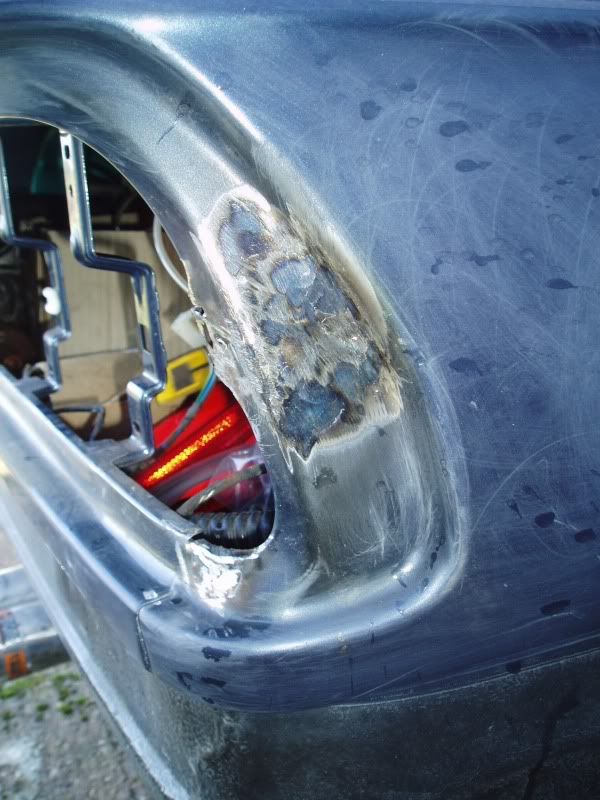 finished off some bits on the front end too and its looking pretty mean! 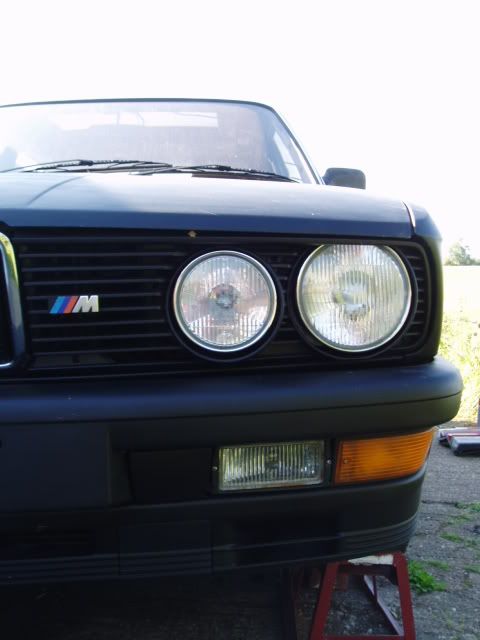 next stop was to strip down the boot and then paint her up again... so out with old faithful... the belt sander... 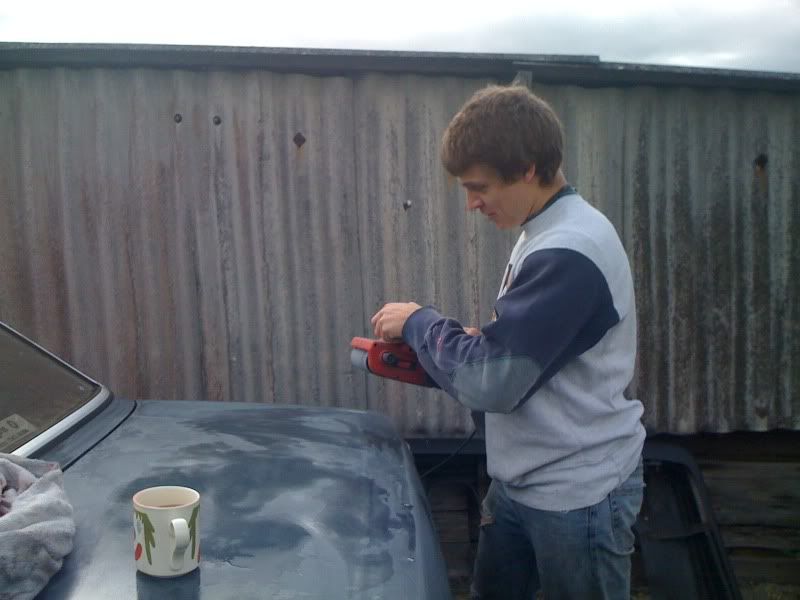 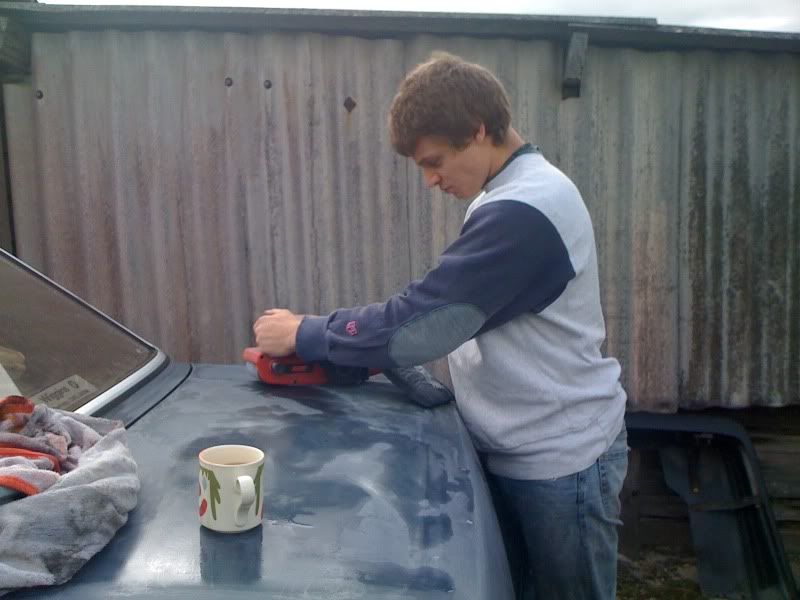 Unfortunately I didn't detail the progress that well so I shall explain that we sanded it all back, got the primer on, half of the first layer of black and... the heavens open and it rained like I've not seen for ages... great! Luckily what we had done was dry enough to not be affected so we sprayed up the wing mirrors and rear lights in matt black to match while the car dried off then went back and finished off and got everything back on... 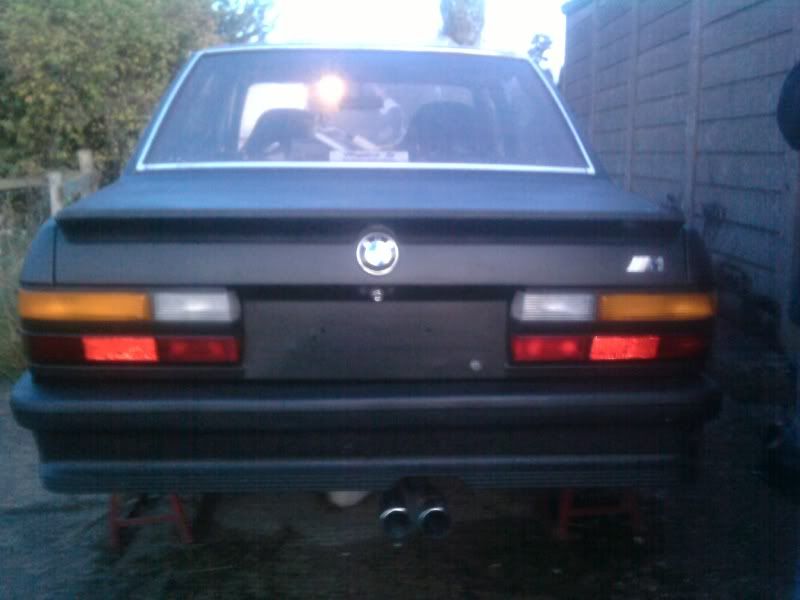 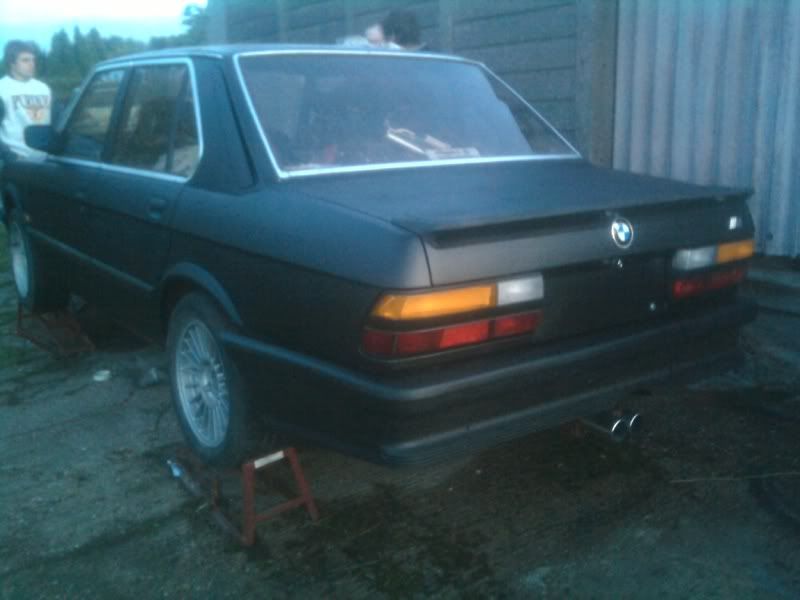 Right, NEARLY there but thats about all for now... in the mean time.. I put THIS up for consideration....  Jon - out |
|
|
|
Post by Jay on Oct 4, 2009 21:14:26 GMT
beemer is looking awesome, looks so mean in matt black!! and those light just finished it off nicely with the matt black... and seeing as that was my idea i might have to charge you for it haha!!
oh and the ovlov needs to be basterdised with some proper BTCC stickers and a Rydell sticker in the back window!!
|
|